
PI PICO RED YELLOW AND GREEN LIGHT

Description of the Raspberry Pi Pico Traffic Light Simulation Code
This code simulates a simple traffic light system using a Raspberry Pi Pico. It defines three pins for the traffic light colors: RED, YELLOW, and GREEN. The program initializes these pins as outputs in the setup() function.
In the loop() function, the traffic light operates in a sequence:
- The GREEN light is turned on for 3 seconds, indicating that vehicles can go.
- The GREEN light is turned off, and the YELLOW light is activated for 0.5 seconds, signaling that the light is about to change.
- The RED light is then turned on for 2 seconds, stopping traffic.
- Finally, the YELLOW light is activated for 0.5 seconds before turning off, followed by turning off the RED light.
This project is a great introduction to controlling multiple outputs with the Raspberry Pi Pico and understanding basic timing and sequences in programming.
SCHEMATIC:
CODE:
#define RED 1
#define YELLOW 5
#define GREEN 9
void setup() {
pinMode(RED, OUTPUT);
pinMode(YELLOW, OUTPUT);
pinMode(GREEN, OUTPUT);
}
void loop() {
digitalWrite(GREEN, HIGH);
delay(3000);
digitalWrite(GREEN, LOW);
digitalWrite(YELLOW, HIGH);
delay(500);
digitalWrite(YELLOW, LOW);
digitalWrite(RED, HIGH);
delay(2000);
digitalWrite(YELLOW, HIGH);
delay(500);
digitalWrite(YELLOW, LOW);
digitalWrite(RED, LOW);
}
- Raspberry Pi Pico projects
- Traffic light simulation tutorial
- GPIO pin control with Raspberry Pi Pico
- Arduino-style programming on Pico
- Digital output control
- DIY electronics projects
- LED traffic light project
- Basic programming for beginners
- Pico microcontroller applications
- Electronics projects for learning
EmbedLab Team
Embedded systems engineer and educator. Writes weekly tutorials at EmbedLab to help beginners ship real hardware.
Related projects
Top 5 IoT Projects with Arduino UNO & ESP32 — Blynk, Wi-Fi & Smart Home Tutorials (2026)
The top 5 IoT projects every Arduino UNO and ESP32 maker should build in 2026 — Blynk IoT control, Wi-Fi blink, ESP-WROOM-32 dev board guide, ESP32 Proteus 8 simulation and an Arduino smart home parking system. Each pick links to the full tutorial with free Arduino IDE code, library and wiring.
Blynk IoT with Arduino UNO & ESP32 — Free Arduino IDE, Library & App Tutorial
Complete Blynk IoT tutorial for Arduino UNO and ESP32 Arduino: install the Arduino IDE, add the Blynk Arduino library, wire LEDs, LCD and sensors, and control everything from the Blynk app over Wi-Fi — a free, beginner-friendly Arduino IoT project.

Arduino UNO Blink IoT Guide — ESP32 Arduino, Blynk App & Arduino IDE Code
Complete Arduino UNO Blink IoT guide using ESP32 Arduino and the Blynk app: free Arduino IDE code, Arduino library and LED wiring — the easiest Arduino IoT project for beginners to download and try online.

How to Control LEDs Using Blynk and Arduino Uno: A Complete Guide
How to Control LEDs Using Blynk and Arduino Uno: A Complete Guide Controlling LEDs remotely using Blynk and an Arduino Uno is a simple yet powerful project for IoT (Internet of Things) enthusia
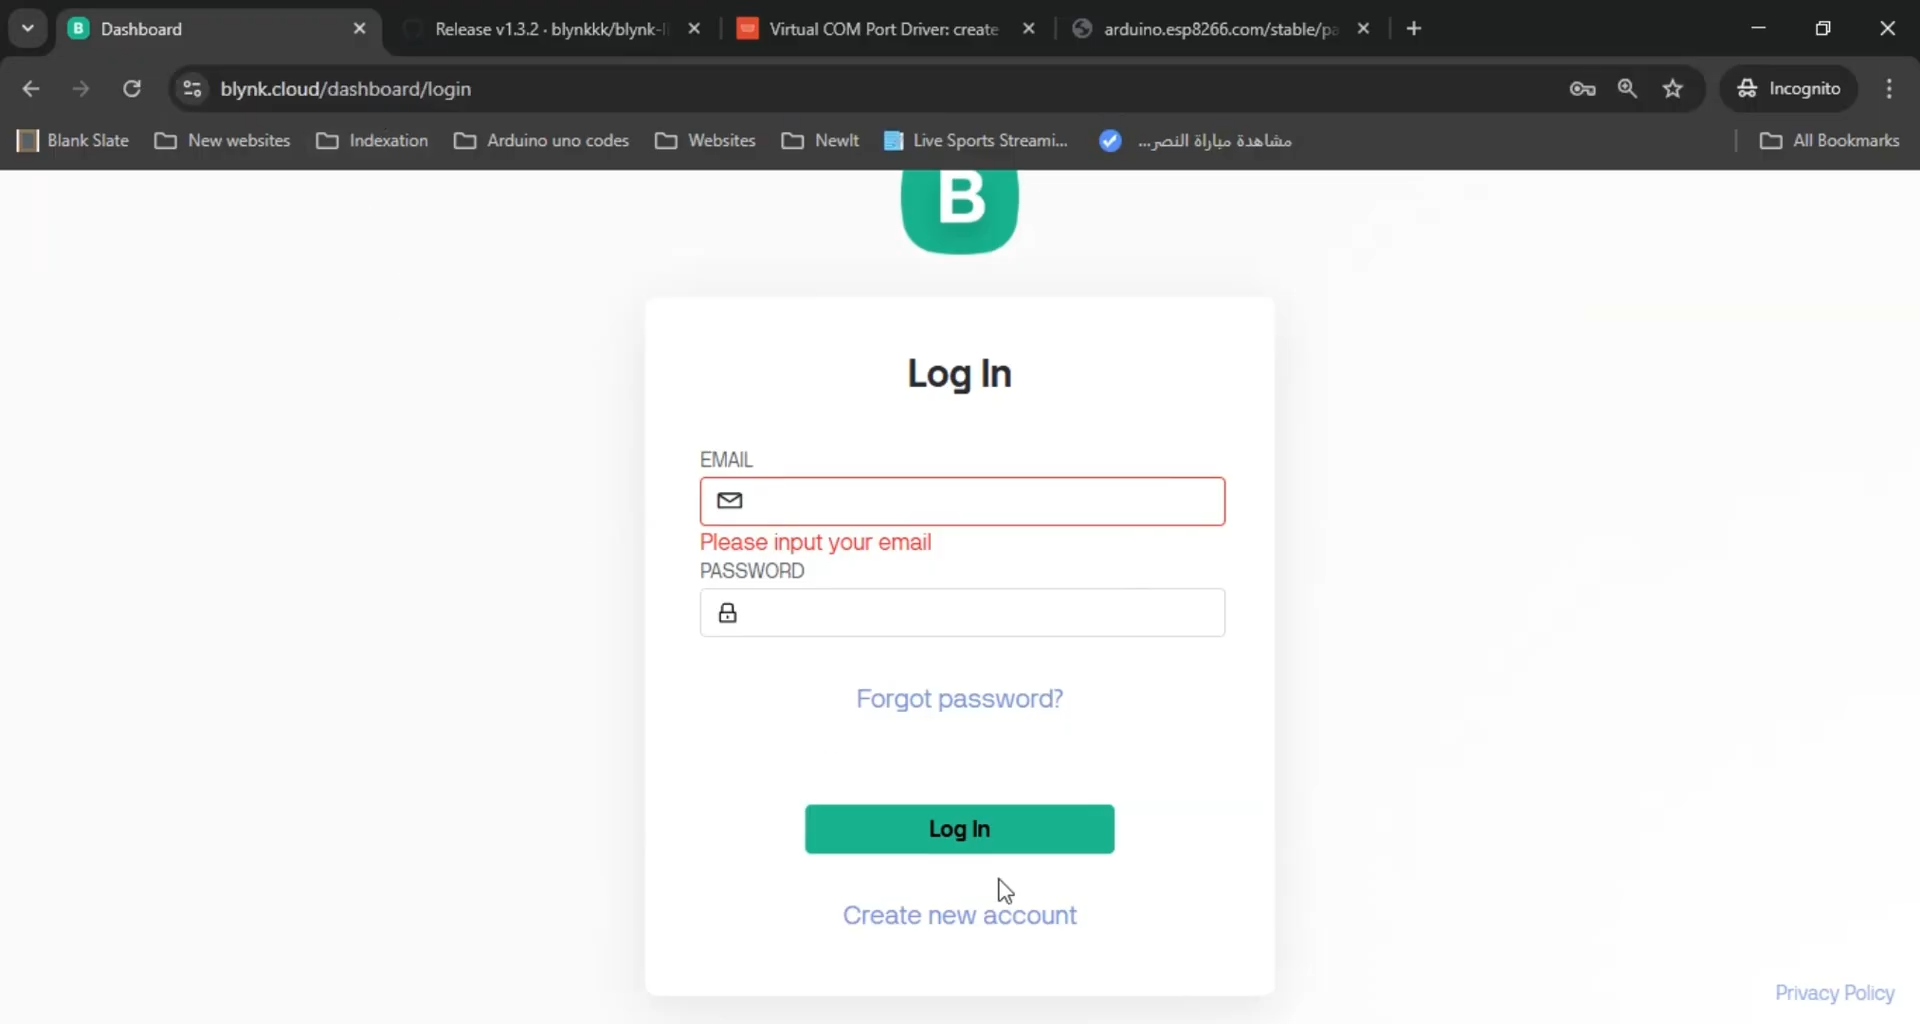
Proteus 8 Blynk
Connect Proteus 8 with Blynk Using Arduino: A Complete Step-by-Step Guide Looking to seamlessly connect Proteus 8 with Blynk using Arduino ? This detailed tutorial covers everything from setting up a