
Motion Detection System

This is an arduino uno project with code for beginners, a simple security system for beginners simulated on proteus , with full project available for free!
Description of the Code
This Arduino project simulates a simple motion-activated servo mechanism using an IR sensor, a servo motor, and an LED. The system detects motion with the IR sensor and performs the following actions when motion is detected:
- IR Sensor Activation: When the IR sensor detects motion, it outputs a HIGH signal.
- LED Indicator: The LED connected to pin 13 turns on, providing a visual indication of detection.
- Servo Motor Motion:
- The servo motor connected to pin 11 sweeps from 0° to 180° and back to 0°.
- This sweeping motion mimics an automated action, such as opening and closing a barrier or scanning an area.
- System Reset: After completing the sweep, the LED turns off, and the system resets to wait for the next motion detection.
This code is ideal for applications such as automated gates, motion detection systems, or simple robotic arms.
Required Libraries, Components, and Software
Libraries:
- Servo.h: Built-in Arduino library for controlling servo motors.
- Included by default in the Arduino IDE.
- Used to create and control the servo object (
myservo).
Components:
IR Sensor Module:
- Detects motion or obstacles.
- Connected to Arduino's digital pin (
IRSensoron pin 2).
LED:
- Provides a visual indication when motion is detected.
- Connected to pin 13 with a current-limiting resistor (220Ω recommended).
Servo Motor:
- Performs sweeping motion from 0° to 180° and back.
- Connected to pin 11 for control.
Resistors:
- 220Ω or 330Ω for the LED.
Connecting Wires:
- Male-to-male or male-to-female jumper wires.
Breadboard:
- For easy wiring and prototyping.
Power Supply:
- USB cable for powering the Arduino board.
Arduino Board:
- Any Arduino-compatible board (e.g., Arduino Uno, Nano, Mega).
Software:
Arduino IDE:
- Required to upload the code to the Arduino board.
- Can be downloaded from Arduino's official website.
Proteus 8 Professional:
- For simulating the Arduino project virtually.
- Used to test circuit designs before actual hardware implementation.
Code Breakdown
Libraries and Object Creation:
- The
Servolibrary is included for controlling the servo motor. - An object
myservois created to interact with the servo motor.
- The
Pin Configuration:
IRSensor(pin 2): Reads motion detection status.LED(pin 13): Provides visual feedback.- Servo motor is attached to pin 11.
Setup:
pinMode()configures the pins for the sensor and LED.myservo.attach(11)initializes the servo motor.
Loop:
- The IR sensor's status is checked using
digitalRead(IRSensor). - If motion is detected (
HIGHsignal): - The LED turns on.
- The servo sweeps from 0° to 180° and back with a delay for smooth motion.
- The LED turns off after the motion.
Schematic:
----------------------------------------------------------------------------------
----------------------------------------------------------------------------------Code:
Project Link:
EmbedLab Team
Embedded systems engineer and educator. Writes weekly tutorials at EmbedLab to help beginners ship real hardware.
Related projects
Top 5 IoT Projects with Arduino UNO & ESP32 — Blynk, Wi-Fi & Smart Home Tutorials (2026)
The top 5 IoT projects every Arduino UNO and ESP32 maker should build in 2026 — Blynk IoT control, Wi-Fi blink, ESP-WROOM-32 dev board guide, ESP32 Proteus 8 simulation and an Arduino smart home parking system. Each pick links to the full tutorial with free Arduino IDE code, library and wiring.
Blynk IoT with Arduino UNO & ESP32 — Free Arduino IDE, Library & App Tutorial
Complete Blynk IoT tutorial for Arduino UNO and ESP32 Arduino: install the Arduino IDE, add the Blynk Arduino library, wire LEDs, LCD and sensors, and control everything from the Blynk app over Wi-Fi — a free, beginner-friendly Arduino IoT project.

Arduino UNO Blink IoT Guide — ESP32 Arduino, Blynk App & Arduino IDE Code
Complete Arduino UNO Blink IoT guide using ESP32 Arduino and the Blynk app: free Arduino IDE code, Arduino library and LED wiring — the easiest Arduino IoT project for beginners to download and try online.

How to Control LEDs Using Blynk and Arduino Uno: A Complete Guide
How to Control LEDs Using Blynk and Arduino Uno: A Complete Guide Controlling LEDs remotely using Blynk and an Arduino Uno is a simple yet powerful project for IoT (Internet of Things) enthusia
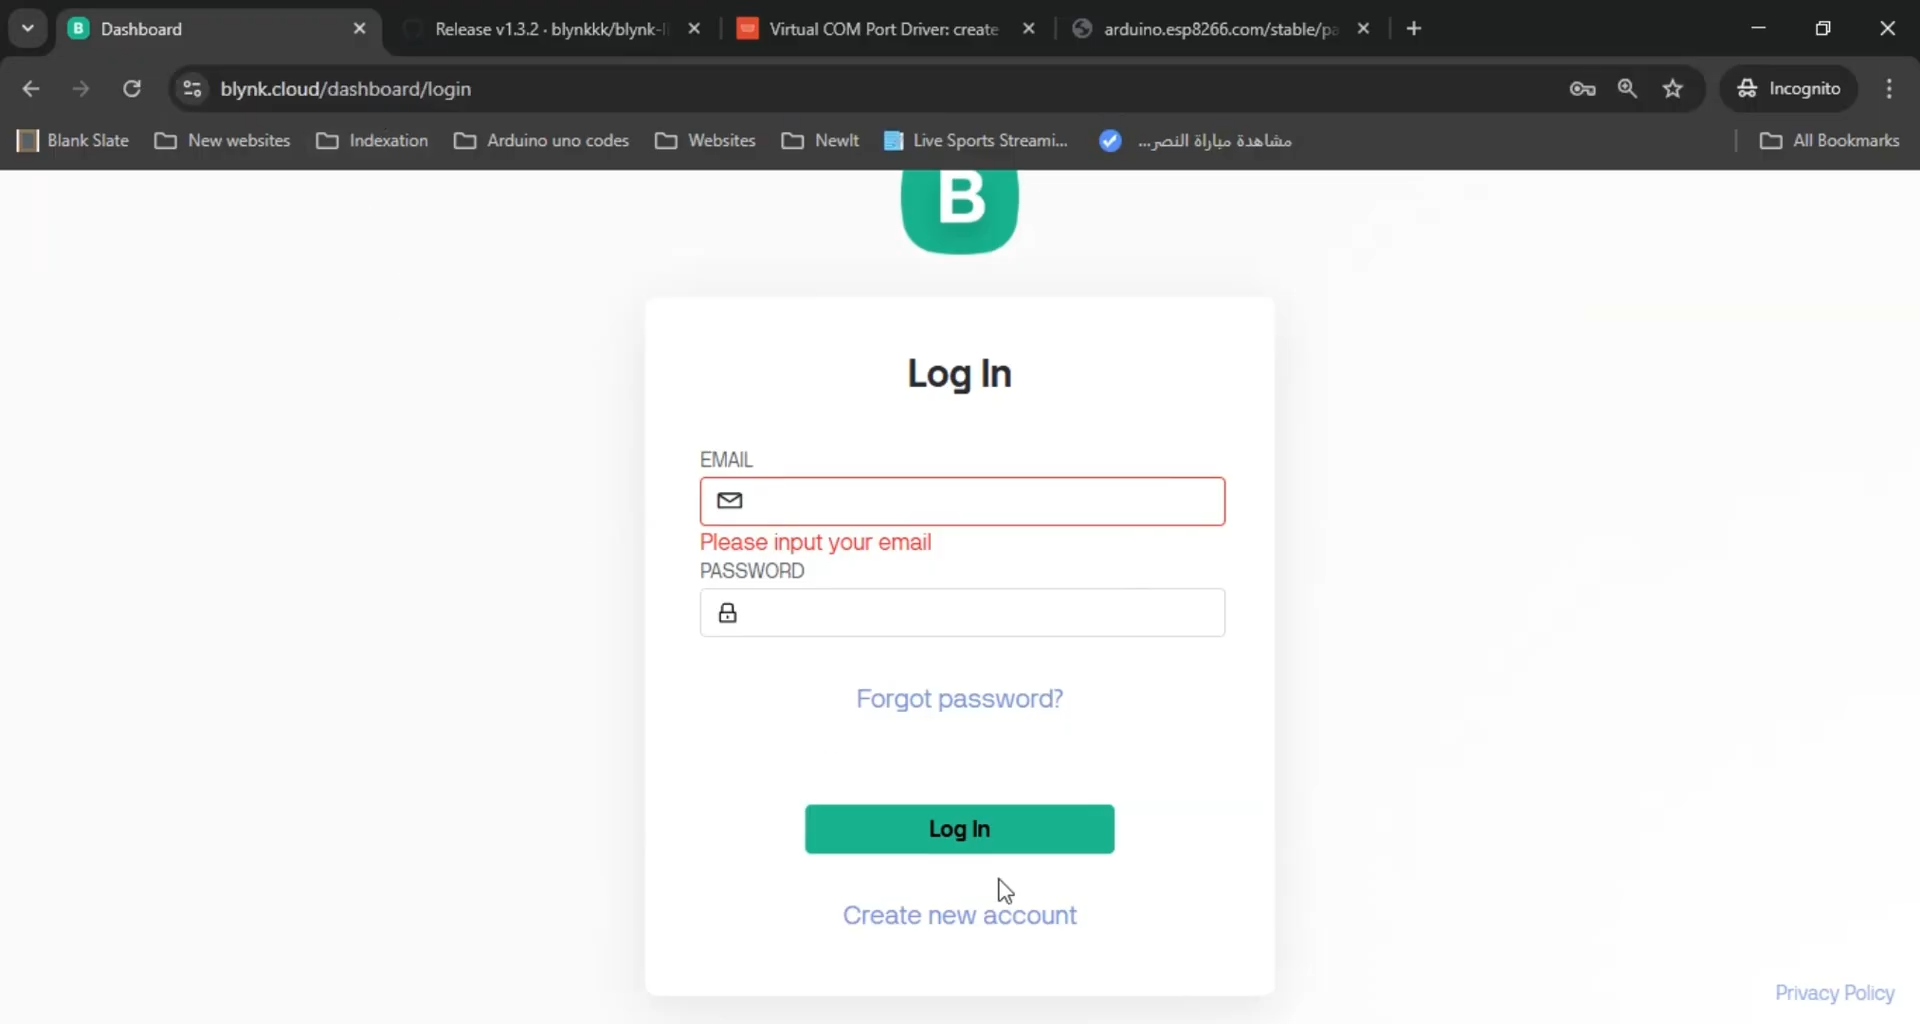
Proteus 8 Blynk
Connect Proteus 8 with Blynk Using Arduino: A Complete Step-by-Step Guide Looking to seamlessly connect Proteus 8 with Blynk using Arduino ? This detailed tutorial covers everything from setting up a