
Keypad-Controlled Safe

This is an easy arduino uno project with code for beginners, it is a keypad controlled safe with cd display simulated online.
Project description:
This project implements a secure, servo-controlled safe with a 4x4 keypad for input and an LCD (16x2) display for user feedback. The safe is locked and unlocked based on a predefined 4-digit code (1234 by default). The servo motor controls the locking mechanism, while the keypad lets users enter the code to unlock the safe. Feedback messages such as "Access Denied" or "Safe Unlocked" are displayed on the LCD to enhance the user experience.
The project is simulated on Wokwi.com, a powerful platform for simulating Arduino projects. A JSON file is provided to view the complete schematic of the components and connections.
Materials Required:
- Arduino Uno (or compatible board)
- 16x2 LCD Display with 4-bit interface
- 4x4 Keypad
- Servo Motor (e.g., SG90)
- Resistors (for pull-up configurations, if needed)
- Connecting Wires
- Breadboard
- Power Supply (or USB connection to the Arduino)
Features:
- Secure Access: The safe unlocks only when the correct 4-digit code is entered.
- LCD Display: Provides real-time feedback for user interactions (e.g., "Enter Code," "Access Denied").
- Auto-locking: After being unlocked for 3 seconds, the safe automatically locks.
- Customizable Code: The default code can be changed in the Arduino sketch.
- Simulation Ready: Designed for Wokwi, with a JSON file for schematic representation.
Additional Notes:
- JSON File: Use the provided JSON file in Wokwi to visualize the project connections and simulate the safe’s functionality.
- Expansion: This setup can be expanded by adding features like an EEPROM to save the code or integrating a buzzer for failed attempts.
Schematic:
Code:
EmbedLab Team
Embedded systems engineer and educator. Writes weekly tutorials at EmbedLab to help beginners ship real hardware.
Related projects
Top 5 IoT Projects with Arduino UNO & ESP32 — Blynk, Wi-Fi & Smart Home Tutorials (2026)
The top 5 IoT projects every Arduino UNO and ESP32 maker should build in 2026 — Blynk IoT control, Wi-Fi blink, ESP-WROOM-32 dev board guide, ESP32 Proteus 8 simulation and an Arduino smart home parking system. Each pick links to the full tutorial with free Arduino IDE code, library and wiring.
Blynk IoT with Arduino UNO & ESP32 — Free Arduino IDE, Library & App Tutorial
Complete Blynk IoT tutorial for Arduino UNO and ESP32 Arduino: install the Arduino IDE, add the Blynk Arduino library, wire LEDs, LCD and sensors, and control everything from the Blynk app over Wi-Fi — a free, beginner-friendly Arduino IoT project.

Arduino UNO Blink IoT Guide — ESP32 Arduino, Blynk App & Arduino IDE Code
Complete Arduino UNO Blink IoT guide using ESP32 Arduino and the Blynk app: free Arduino IDE code, Arduino library and LED wiring — the easiest Arduino IoT project for beginners to download and try online.

How to Control LEDs Using Blynk and Arduino Uno: A Complete Guide
How to Control LEDs Using Blynk and Arduino Uno: A Complete Guide Controlling LEDs remotely using Blynk and an Arduino Uno is a simple yet powerful project for IoT (Internet of Things) enthusia
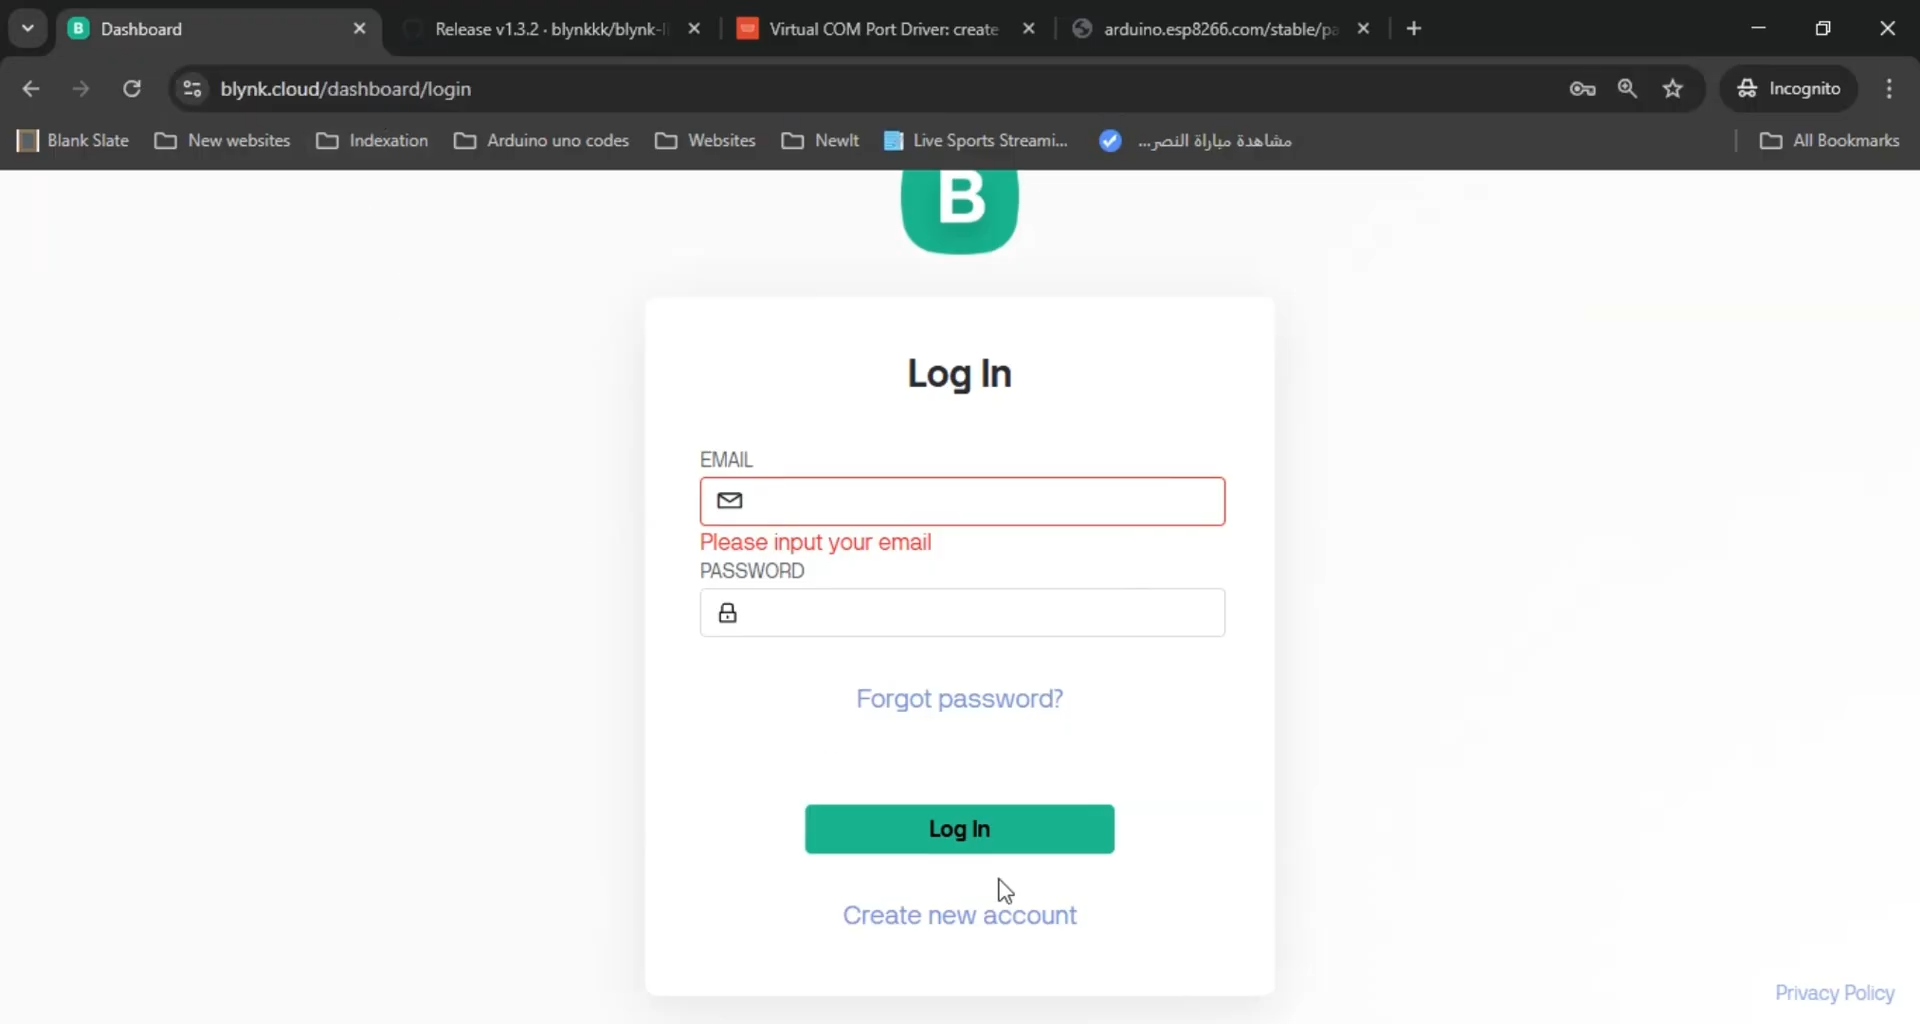
Proteus 8 Blynk
Connect Proteus 8 with Blynk Using Arduino: A Complete Step-by-Step Guide Looking to seamlessly connect Proteus 8 with Blynk using Arduino ? This detailed tutorial covers everything from setting up a