
Interrupt function

In Arduino, the interrupt function allows the microcontroller to pause its normal program execution and immediately run a special function (called an Interrupt Service Routine or ISR) in response to a specific event, like a change in a pin's state or the expiration of a timer.
How Interrupts Work:
- Interrupts are like alarms that tell the processor to stop what it's doing and pay attention to something important.
- When an interrupt occurs, the processor stops the current task, saves its state, and executes the ISR.
- Once the ISR completes, the processor resumes its normal tasks.
Key Points About Arduino Interrupts:
Pin-based Interrupts:
- Arduino supports hardware interrupts on specific pins. For example:
- On an Arduino Uno, hardware interrupts are available on pins 2 and 3.
- Other boards may support interrupts on additional or all pins.
- These pins are associated with specific interrupt numbers.
- Arduino supports hardware interrupts on specific pins. For example:
Function to Attach an Interrupt:
- Use the
attachInterrupt()function to define an interrupt and associate it with a pin and ISR:pin: The pin you want to monitor for an interrupt.ISR: The name of the Interrupt Service Routine to execute.mode: Defines the event that triggers the interrupt:LOW: Triggers when the pin is LOW.CHANGE: Triggers when the pin changes state (HIGH to LOW or LOW to HIGH).RISING: Triggers when the pin changes from LOW to HIGH.FALLING: Triggers when the pin changes from HIGH to LOW.
- Use the
Disabling and Re-enabling Interrupts:
- Use
detachInterrupt(interruptNumber)to disable the interrupt.
- Use
Characteristics of an ISR:
- Keep it Short: The ISR should execute quickly to avoid delaying other interrupts.
- No
delay()or Serial Communication: These functions depend on interrupts themselves and will not work inside an ISR. - Variables in ISRs: Use the
volatilekeyword for variables shared between the ISR and the main program.
EmbedLab Team
Embedded systems engineer and educator. Writes weekly tutorials at EmbedLab to help beginners ship real hardware.
Related projects
Top 5 IoT Projects with Arduino UNO & ESP32 — Blynk, Wi-Fi & Smart Home Tutorials (2026)
The top 5 IoT projects every Arduino UNO and ESP32 maker should build in 2026 — Blynk IoT control, Wi-Fi blink, ESP-WROOM-32 dev board guide, ESP32 Proteus 8 simulation and an Arduino smart home parking system. Each pick links to the full tutorial with free Arduino IDE code, library and wiring.
Blynk IoT with Arduino UNO & ESP32 — Free Arduino IDE, Library & App Tutorial
Complete Blynk IoT tutorial for Arduino UNO and ESP32 Arduino: install the Arduino IDE, add the Blynk Arduino library, wire LEDs, LCD and sensors, and control everything from the Blynk app over Wi-Fi — a free, beginner-friendly Arduino IoT project.

Arduino UNO Blink IoT Guide — ESP32 Arduino, Blynk App & Arduino IDE Code
Complete Arduino UNO Blink IoT guide using ESP32 Arduino and the Blynk app: free Arduino IDE code, Arduino library and LED wiring — the easiest Arduino IoT project for beginners to download and try online.

How to Control LEDs Using Blynk and Arduino Uno: A Complete Guide
How to Control LEDs Using Blynk and Arduino Uno: A Complete Guide Controlling LEDs remotely using Blynk and an Arduino Uno is a simple yet powerful project for IoT (Internet of Things) enthusia
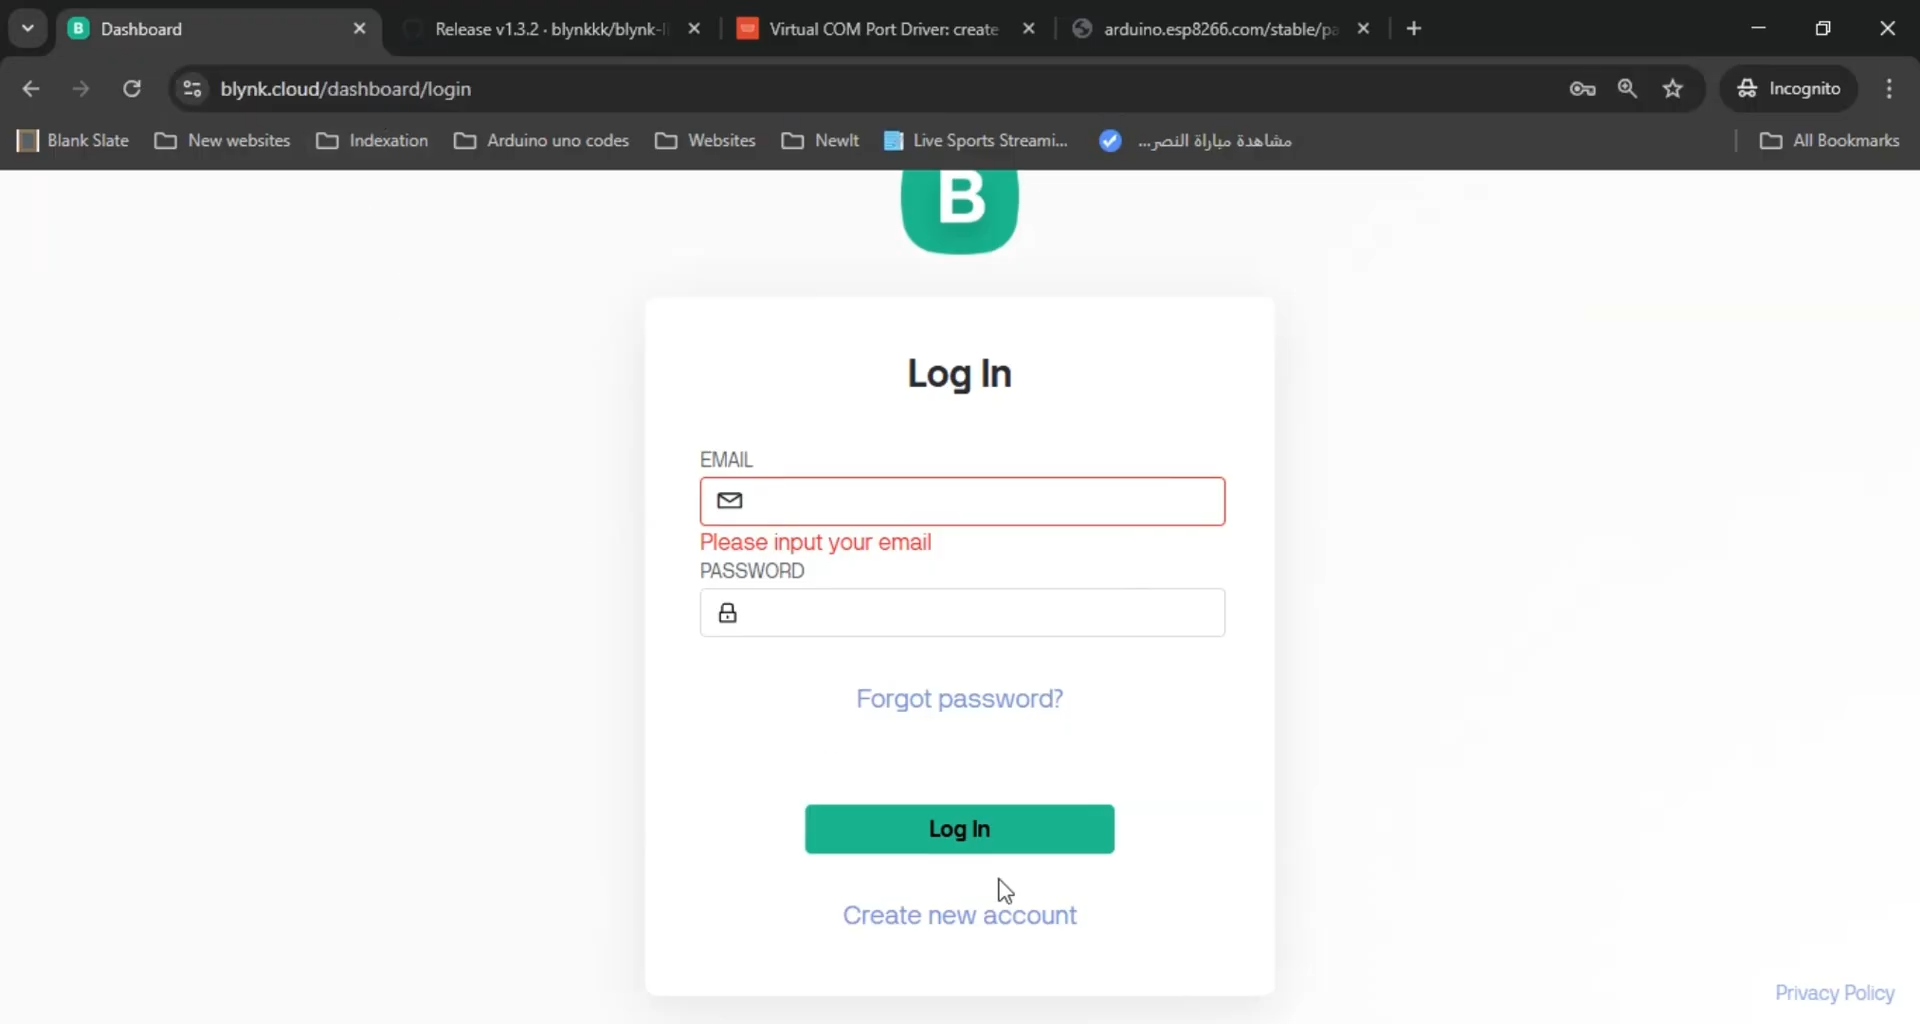
Proteus 8 Blynk
Connect Proteus 8 with Blynk Using Arduino: A Complete Step-by-Step Guide Looking to seamlessly connect Proteus 8 with Blynk using Arduino ? This detailed tutorial covers everything from setting up a