
Interface Arduino and Multiplexer

This collection of Arduino-based projects demonstrates creative ways to control multiple LEDs using a 3-to-8 multiplexer and pulse-width modulation (PWM). These projects showcase how multiplexing can significantly reduce the number of required microcontroller pins while enabling advanced lighting effects. Whether you're a beginner or an enthusiast, these projects are an excellent way to explore key embedded systems concepts such as channel selection, random number generation, PWM, and dynamic LED control.
Project 1: Brightness Decrease Effect Using Multiplexed LEDs
Description:
This project demonstrates a smooth brightness decrease effect on LEDs connected to a 3-to-8 multiplexer. By using Arduino's PWM capabilities, LEDs are dimmed gradually from full brightness to off. The selectChannel function dynamically controls the multiplexer channels, allowing precise LED control. This project is ideal for learning LED control, multiplexing, and PWM signals in embedded systems.
Arduino LED brightness control, PWM with Arduino, LED multiplexing project, smooth LED dimming, Arduino beginners tutorial, multiplexed LED dimming effect, Arduino PWM code.
Project 2: Ping Pong LED Effect with Arduino and Multiplexer
Description:
Create a visually captivating ping pong LED effect using a 3-to-8 multiplexer. This Arduino-based project lights up LEDs in a sequence that moves forward and then reverses. The selectChannel function is utilized to switch LEDs dynamically, while PWM ensures consistent brightness. Perfect for those exploring sequential lighting and multiplexer usage in embedded projects.
Arduino ping pong LED effect, sequential LED control, Arduino multiplexer project, embedded lighting effects, LED animation with Arduino, Arduino sequential lighting tutorial, LED effects with PWM.
Project 3: Random LED Burst Effect Using Arduino
Description:
Add randomness to your LED project with this Random LED Burst Effect. Using a 3-to-8 multiplexer, LEDs are lit up in a random sequence, creating a lively and unpredictable visual display. The random() function ensures that no two bursts look the same. This project is great for exploring random number generation, multiplexing, and dynamic lighting effects with Arduino.
Arduino random LED effect, LED burst effect Arduino, random number generation Arduino, Arduino multiplexer project, random LED lighting, Arduino dynamic lighting effects, embedded systems LED control.
Schematic:
Connections:

EmbedLab Team
Embedded systems engineer and educator. Writes weekly tutorials at EmbedLab to help beginners ship real hardware.
Related projects

Arduino UNO Blink IoT Guide — ESP32 Arduino, Blynk App & Arduino IDE Code
Complete Arduino UNO Blink IoT guide using ESP32 Arduino and the Blynk app: free Arduino IDE code, Arduino library and LED wiring — the easiest Arduino IoT project for beginners to download and try online.
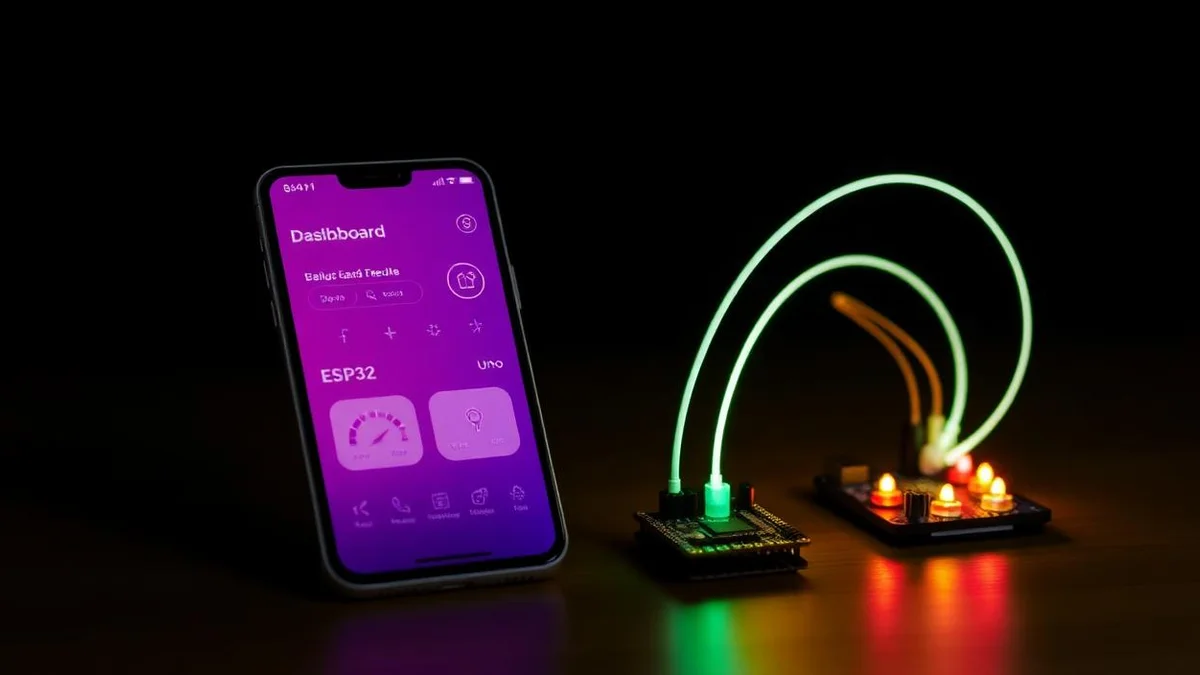
Blynk IoT with Arduino UNO & ESP32 — Free Arduino IDE, Library & App Tutorial
Complete Blynk IoT tutorial for Arduino UNO and ESP32 Arduino: install the Arduino IDE, add the Blynk Arduino library, wire LEDs, LCD and sensors, and control everything from the Blynk app over Wi-Fi — a free, beginner-friendly Arduino IoT project.

Arduino and Multiplexer
Hello In this article we will see how you can increase the output of the Arduino UNO board by using the 74HC4051 Multiplixer , we wil controll 8 LEDS! This Project is simulated using Proteu

Top 5 IoT Projects with Arduino UNO & ESP32 — Blynk, Wi-Fi & Smart Home Tutorials (2026)
The top 5 IoT projects every Arduino UNO and ESP32 maker should build in 2026 — Blynk IoT control, Wi-Fi blink, ESP-WROOM-32 dev board guide, ESP32 Proteus 8 simulation and an Arduino smart home parking system. Each pick links to the full tutorial with free Arduino IDE code, library and wiring.

How to Control LEDs Using Blynk and Arduino Uno: A Complete Guide
How to Control LEDs Using Blynk and Arduino Uno: A Complete Guide Controlling LEDs remotely using Blynk and an Arduino Uno is a simple yet powerful project for IoT (Internet of Things) enthusia