
Build an Arduino UNO Calculator with LCD & Keypad — Free Arduino IDE Code


Why Build an Arduino Calculator with LCD and Keypad?
Arduino turns abstract coding into real-world action.
And one of the best beginner projects is an Arduino calculator with LCD and keypad.
It combines hardware and software in a satisfying, functional way.
You press keys on a 4x4 membrane keypad.
The Arduino processes your input instantly.
Then it shows the result on a bright 16x2 LCD screen.
Moreover, this project teaches core electronics skills without overwhelming you.
Above all, it’s affordable, educational, and fun to show off.
Essential Components for Your Arduino Calculator Project
You don’t need a huge parts list.
In fact, most makers already own these basics.
First, get an Arduino Uno—or a compatible board like the ELEGOO MEGA R3.
ELEGOO boards work perfectly with the Arduino IDE and cost less.
Next, grab a 16x2 LCD display (HD44780 compatible).
Then add a 4x4 matrix keypad with 16 keys (0–9, +, –, *, /, =, C).
You’ll also need:
- A breadboard for easy connections
- 40 jumper wires (20 cm length is ideal)
- One 220Ω resistor for the LCD backlight
⚠️ Note: The CanaKit Raspberry Pi 5 Starter Kit listed in the transcript isn’t needed here. Focus only on Arduino-related parts.
All these components are widely available and budget-friendly.
How the Arduino Calculator Works: Input, Process, Output
This system follows a simple three-step flow.
Input: You type numbers and operators using the 4x4 keypad.
Each key sends a character—like '5', '*', or 'C'—to the Arduino.
Processing: The Arduino stores your input in a string buffer.
When you press '=', it scans the string for two numbers and one operator.
Then it performs the math operation safely.
Output: The result appears on the 16x2 LCD.
If you try to divide by zero, it avoids crashing and shows a clean result (0) instead.
Consequently, the whole process feels responsive and intuitive.
Best of all, it runs entirely offline—no internet or extra modules required.
Step-by-Step Wiring: Connect LCD and Keypad to Arduino
Wiring is straightforward if you follow the pin map exactly.
Wiring the 16x2 LCD to Arduino Uno
Start by connecting the LCD:
- RS → Digital pin 12
- E → Digital pin 11
- D4 → Digital pin 10
- D5 → Digital pin 9
- D6 → Digital pin 8
- D7 → Digital pin 7
- VSS, RW, K → GND
- VDD → 5V
- A (backlight anode) → 5V through a 220Ω resistor
Wiring the 4x4 Keypad
Now connect the keypad rows and columns:
- Row 1 (R1) → Digital pin 5
- Row 2 (R2) → Digital pin 4
- Row 3 (R3) → Digital pin 3
- Row 4 (R4) → Digital pin 2
- Col 1 (C1) → Analog pin A3
- Col 2 (C2) → Analog pin A2
- Col 3 (C3) → Analog pin A1
- Col 4 (C4) → Analog pin A0
Double-check every connection before powering on.
A single misplaced wire can cause blank screens or ghost inputs.
Arduino Code for Your LCD Keypad Calculator
The code uses two standard Arduino libraries: LiquidCrystal and Keypad.
Both are built into the Arduino IDE—no extra installs needed.
Include Libraries and Define Hardware
First, include the libraries:
cpp
1
2
#include<LiquidCrystal.h>
#include<Keypad.h>
Then set up the LCD pins:
cpp
1
LiquidCrystallcd(12,11,10,9,8,7);
Define the keypad layout:
cpp
1
2
3
4
5
6
⌄
charkeys[4][4] = {
{'1','2','3','+'},
{'4','5','6','-'},
{'7','8','9','*'},
{'C','0','=','/'}
};
Assign Arduino pins to rows and columns:
cpp
1
2
3
byterowPins[4] = {5,4,3,2};
bytecolPins[4] = {A3,A2,A1,A0};
Keypadkeypad = Keypad(makeKeymap(keys),rowPins,colPins,4,4);
Setup and Loop Functions
In setup(), initialize the LCD and show a welcome message:
cpp
1
2
3
4
5
lcd.begin(16,2);
lcd.print("Calculator");
delay(2000);
lcd.clear();
lcd.print("Enter:");
In loop(), handle keypresses:
- If 'C' is pressed, clear the input and reset the screen.
- If '=' is pressed, calculate the result and display it for 5 seconds.
- For all other keys, add them to the input buffer and show on line 2 of the LCD.
The Calculate Function
The calculate() function parses the input string.
It supports +, –, *, and /.
It also prevents division by zero by returning 0 if the denominator is 0.
Upload this code via USB.
Then test with simple expressions like 8*7= or 20/4=.
Key Features of This Arduino Calculator Design
This project includes smart, beginner-friendly design choices.
Clear user interface: Input appears on line 2. Results show on line 1.
Error resilience: Division by zero won’t crash the program.
Instant reset: Press 'C' anytime to start over.
Real-time feedback: Every keypress updates the display immediately.
However, it only handles two-number operations (e.g., 9+3).
It doesn’t support complex expressions like 2+3*4—but that keeps the code simple and easy to understand.
You can expand it later once you’re comfortable with the basics.
Test Your Project Online with Wokwi Simulation
Don’t have physical parts yet?
Try the project for free using Wokwi, a browser-based Arduino simulator.
Go to wokwi.com .
Create a new project.
Then paste this JSON code to load the full circuit:
json

1

2

3

4

5

6

7

8

9

10

11

12

13

14

15

16

17

18

19

20

21

22

23

24

25

26

27

28

29

30

31

32

33

⌄

⌄

⌄

{

"version":1,

"author":"https://www.youtube.com/@EasyElectronics2",

"editor":"wokwi",

"parts": [
{ "type":"wokwi-arduino-uno","id":"uno","top":200,"left":20 },

{ "type":"wokwi-membrane-keypad","id":"keypad","top":140,"left":360 },

{ "type":"wokwi-lcd1602","id":"lcd","top":8,"left":20 },

{ "type":"wokwi-resistor","id":"r1","top":140,"left":220,"attrs": { "value":"220" } }

],
"connections": [

[ "uno:GND.1","lcd:VSS","black", [ "v-51","*","h0","v18" ] ],

[ "uno:GND.1","lcd:K","black", [ "v-51","*","h0","v18" ] ],

[ "uno:GND.1","lcd:RW","black", [ "v-51","*","h0","v18" ] ],

[ "uno:5V","lcd:VDD","red", [ "v16","h-16" ] ],

[ "uno:5V","r1:2","red", [ "v16","h-118","v-244","h50" ] ],

[ "r1:1","lcd:A","pink", [] ],

[ "uno:12","lcd:RS","blue", [ "v-16","*","h0","v20" ] ],

[ "uno:11","lcd:E","purple", [ "v-20","*","h0","v20" ] ],

[ "uno:10","lcd:D4","green", [ "v-24","*","h0","v20" ] ],

[ "uno:9","lcd:D5","brown", [ "v-28","*","h0","v20" ] ],

[ "uno:8","lcd:D6","gold", [ "v-32","*","h0","v20" ] ],

[ "uno:7","lcd:D7","gray", [ "v-36","*","h0","v20" ] ],

[ "uno:A3","keypad:C1","brown", [ "v116","*","h0","v0" ] ],

[ "uno:A2","keypad:C2","gray", [ "v120","*","h0","v0" ] ],

[ "uno:A1","keypad:C3","orange", [ "v124","*","h0","v0" ] ],

[ "uno:A0","keypad:C4","pink", [ "v128","*","h0","v0" ] ],

[ "uno:5","keypad:R1","blue", [ "v-34","h96","*","v12" ] ],

[ "uno:4","keypad:R2","green", [ "v-30","h80","*","v16" ] ],

[ "uno:3","keypad:R3","purple", [ "v-26","h64","*","v20" ] ],

[ "uno:2","keypad:R4","gold", [ "v-22","h48","*","v24" ] ]

]

}
Click “Start Simulation.”
Press keys on the virtual keypad.
Watch your calculations appear live on the LCD—no hardware required!
This is a great way to learn and debug before buying parts.
Troubleshooting Common Issues
Problem: LCD shows solid blocks but no text.
Solution: Adjust the contrast potentiometer on the back of the LCD module slowly until characters appear.
Problem: Keypad doesn’t respond.
Solution: Verify wiring. Rows must connect to digital pins 2–5. Columns must go to analog pins A0–A3.
Problem: Calculator gives wrong results.
Solution: The current parser only supports one operator. Avoid expressions like 3+4*2. Stick to a op b.
Problem: Screen flickers or resets during use.
Solution: Ensure your Arduino has stable power. Use a high-quality USB cable that delivers enough current.
Always test one module at a time.
First, get the LCD working alone with a “Hello World” sketch.
Then test the keypad using Serial Monitor.
Finally, combine both with the full calculator code.
Educational Value for Students and Beginners
This project delivers hands-on learning across multiple domains.
You’ll practice digital I/O by scanning keypad rows and columns.
You’ll use analog pins as digital inputs—a clever trick many beginners overlook.
You’ll manipulate strings to build and parse user input dynamically.
You’ll apply conditional logic to choose the correct math operation.
And you’ll gain confidence interfacing real hardware with clean, readable code.
Teachers use this in labs to demonstrate embedded systems basics.
Students submit it as semester projects.
Hobbyists build it as a gateway to more complex builds.
In short, it’s simple on the surface—but rich in foundational concepts.
How to Expand Your Arduino Calculator Later
Once your basic version works, consider these upgrades:
- Add decimal support: The code already allows '.'—so
3.14*2=works out of the box! - Memory function: Store the last result and reuse it with a new key (e.g., 'M').
- Audio feedback: Add a buzzer that beeps on every keypress using
tone(). - Better display: Swap the LCD for a blue OLED screen for sharper visuals.
- Enclosure: Design a 3D-printed case for a professional finish.
Eventually, you could even build a scientific calculator with sin, cos, or square roots—though that requires more memory and a recursive parser.
Start simple. Then grow your skills step by step.
Final Tips for a Smooth Build Experience
Use a breadboard so you can rewire mistakes easily.
Label your jumper wires with colored tape if possible.
Upload the code before connecting the LCD to avoid USB communication conflicts.
Keep your ELEGOO 37-in-1 sensor kit nearby.
It includes extra resistors, buttons, and LEDs for your next project.
Remember: every expert was once a beginner.
Your first attempt might have bugs.
That’s normal. Fix them. Learn from them. Try again.
Start Building Your Own Arduino Calculator Today
Now you have everything you need:
- A clear list of essential parts
- Exact wiring instructions with pin numbers
- Full, tested Arduino code ready to upload
- Free online simulation via Wokwi
- Quick fixes for common problems
Gather your components.
Follow the steps one by one.
In under an hour, you’ll have a working Arduino calculator with LCD and keypad.
This isn’t just a toy.
It’s your first real step into the world of smart electronics.
So plug in your Arduino.
Grab your keypad.
And start calculating!
Learn how to add ESP32 in proteus
The Engineer Post
Embedded systems engineer and educator. Writes weekly tutorials at EmbedLab to help beginners ship real hardware.
Related projects
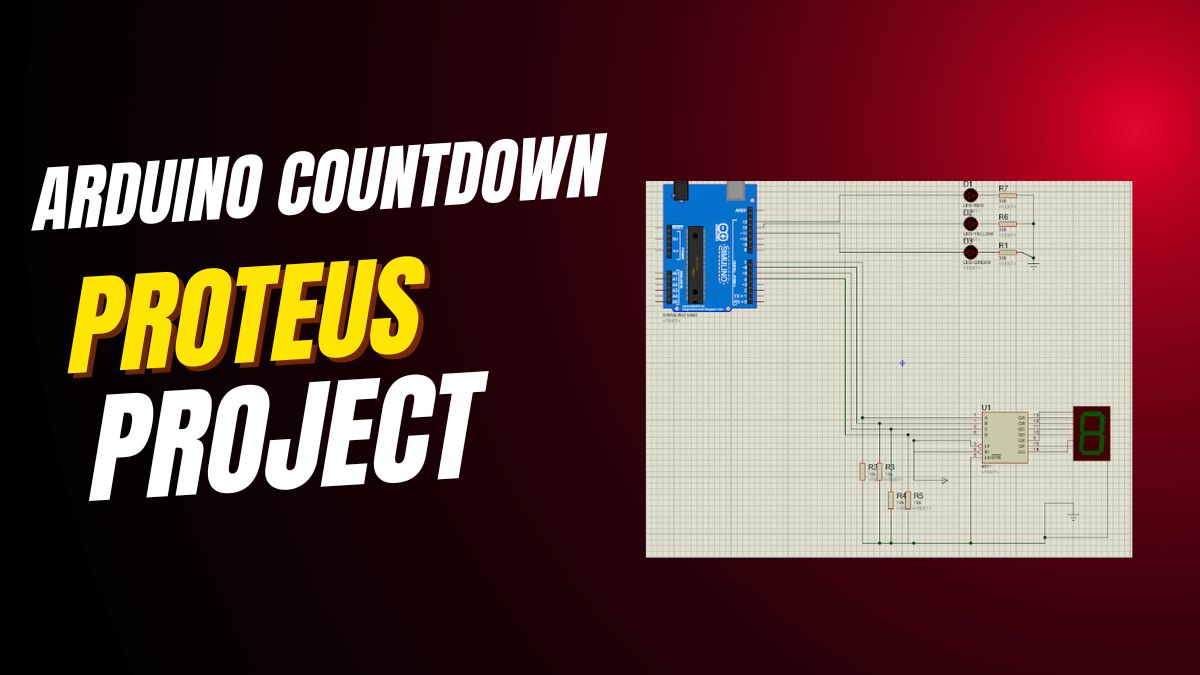
Arduino UNO Countdown Timer with 7-Segment Display — Free Arduino IDE Code
Build an Arduino UNO countdown timer with a 7-segment display: free Arduino IDE code, Arduino library, LED and button wiring — easily ported to Arduino Nano, Arduino Mega and ESP32 Arduino.

Arduino UNO Smart Home Parking System — LCD, IR Sensors & Free Arduino IDE Code
Build an Arduino UNO smart home parking system with LCD, IR sensors and a servo gate: free Arduino IDE code and Arduino library — easily upgraded to Arduino Mega or ESP32 Arduino with the Blynk app for IoT.
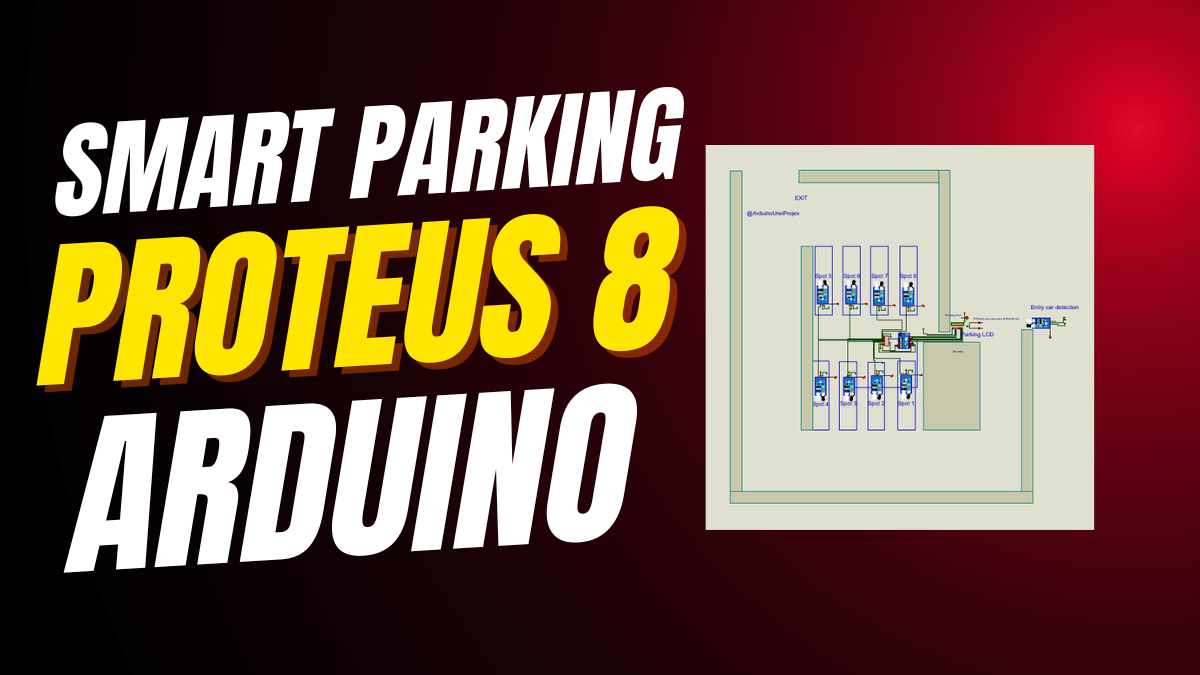
Arduino UNO Smart Parking System (8 Spots) — LCD, IR Sensors & Arduino IDE Code
Build an Arduino UNO smart parking system with 8 spots: IR sensors, LCD display, servo gate, free Arduino IDE code and Arduino library — easily portable to Arduino Mega and ESP32 Arduino for IoT upgrades.

Arduino UNO Interrupts — Button & LED Project with Free Arduino IDE Code
Learn Arduino UNO interrupts with a hands-on button and LED project: free Arduino IDE code, Arduino library and pin map — easily ported to Arduino Nano, Arduino Mega and ESP32 Arduino.

Arduino UNO Traffic Light System — LED Project with Free Arduino IDE Code
Build an Arduino UNO traffic light system with LEDs, a pedestrian button and free Arduino IDE code: an easy Arduino project that also runs on Arduino Nano, Arduino Mega and ESP32 Arduino — great for STEM classrooms and IoT upgrades.