
Add inputs and outputs to microcontrollers
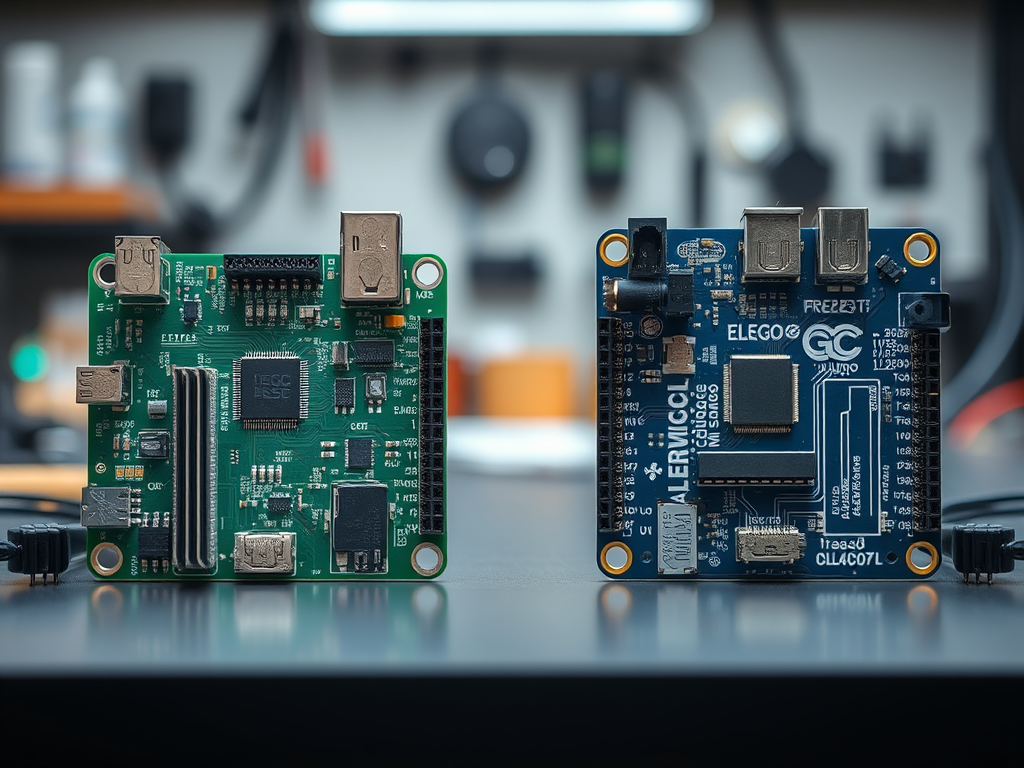
This project integrates two key ICs: the 74HC4051 analog multiplexer/demultiplexer and the 74HC165 shift register , to efficiently control an 8-button input system and a PWM-controlled LED system.
Code:
#include <Arduino.h>
// Define pins
const int buttonPin = 2;
const int ledPin = 9;
void setup() {
    pinMode(buttonPin, INPUT);
    pinMode(ledPin, OUTPUT);
}
void loop() {
    if (digitalRead(buttonPin) == HIGH) {
        digitalWrite(ledPin, HIGH);
    } else {
        digitalWrite(ledPin, LOW);
    }
}
Working Principle
- Button State Reading (74HC165):
- The Arduino loads parallel data from the 8-button inputs into the 74HC165 shift register.
- It then shifts out the data serially, reading each button state one by one.
- LED Control (74HC4051):
- The system loops through all 8 LEDs, using the 74HC4051 multiplexer to select which LED to control.
- If the corresponding button is pressed, it toggles the LED ON/OFF using an XOR operation.
This design is ideal for applications requiring efficient input reading and output control while minimizing pin usage on an Arduino or microcontroller.
EmbedLab Team
Embedded systems engineer and educator. Writes weekly tutorials at EmbedLab to help beginners ship real hardware.
Related projects

How to extend the inputs and outputs of any microcontroller.
This project uses two key ICs: the 74HC4051 analog multiplexer/demultiplexer and the 74HC165 shift register . It controls an 8-button input system and a PWM-contro
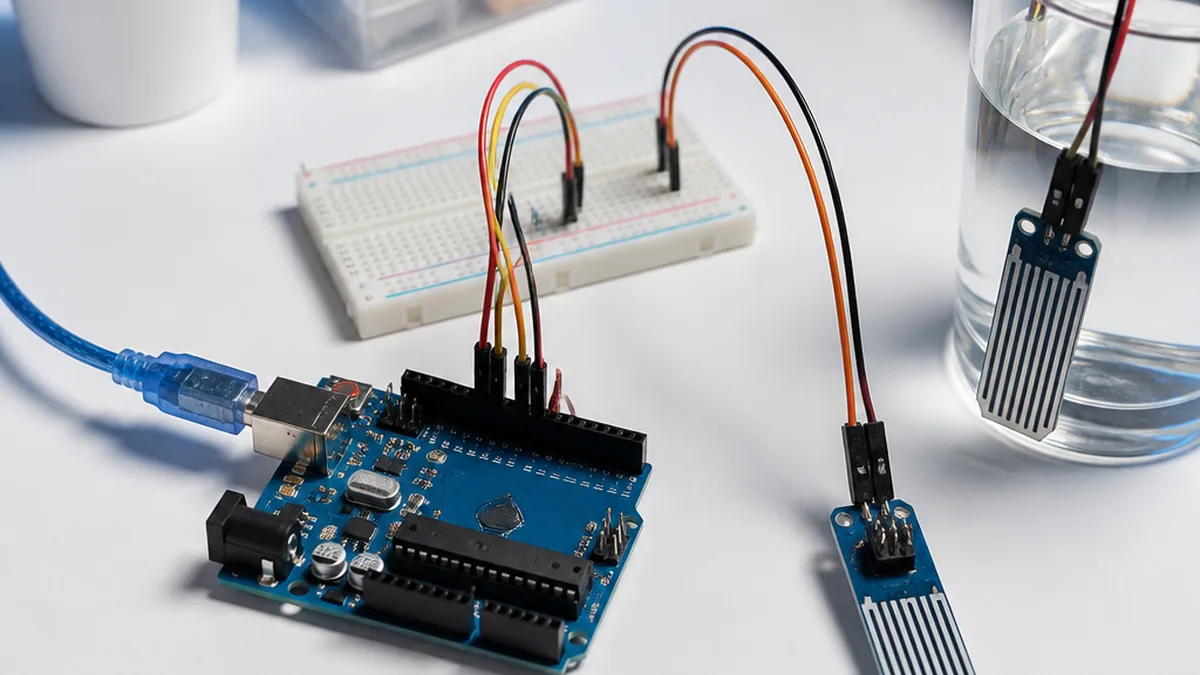
Water Level Sensor with Arduino
Step-by-step Arduino tutorial: wire the water level to an Arduino UNO, upload the example sketch, and read live values on the Serial Monitor.
 — Arduino UNO tutorial cover image](/uploads/arduino-covers/tcs3200-colour-sensor-with-arduino.webp)
Interfacing 16x2 LCD with Arduino
Step-by-step Arduino tutorial: wire the tcs3200 colour to an Arduino UNO, upload the example sketch, and read live values on the Serial Monitor.
 — Arduino UNO tutorial cover image](/uploads/arduino-covers/sound-sensor-with-arduino.webp)
Interfacing 16x2 LCD with Arduino
Step-by-step Arduino tutorial: wire the sound to an Arduino UNO, upload the example sketch, and read live values on the Serial Monitor.
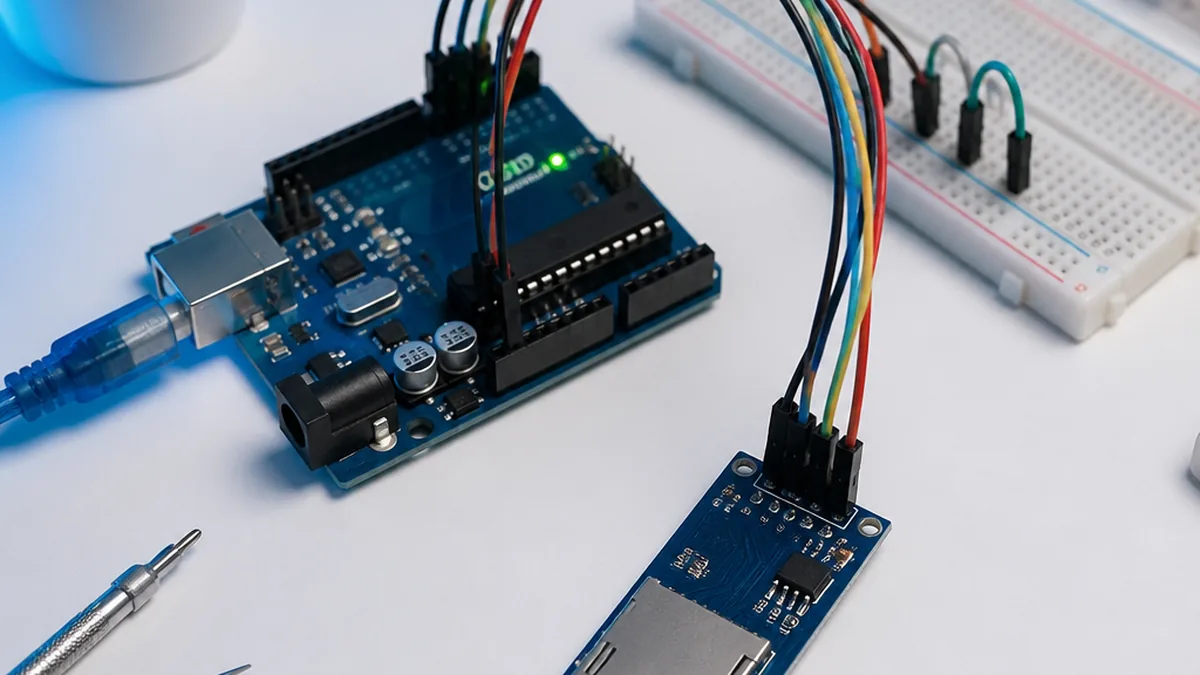
Arduino Micro SD Card Module Project
Step-by-step Arduino tutorial: wire the sd card to an Arduino UNO, upload the example sketch, and read live values on the Serial Monitor. Use it for data loggers (temperature, humidity, gps).