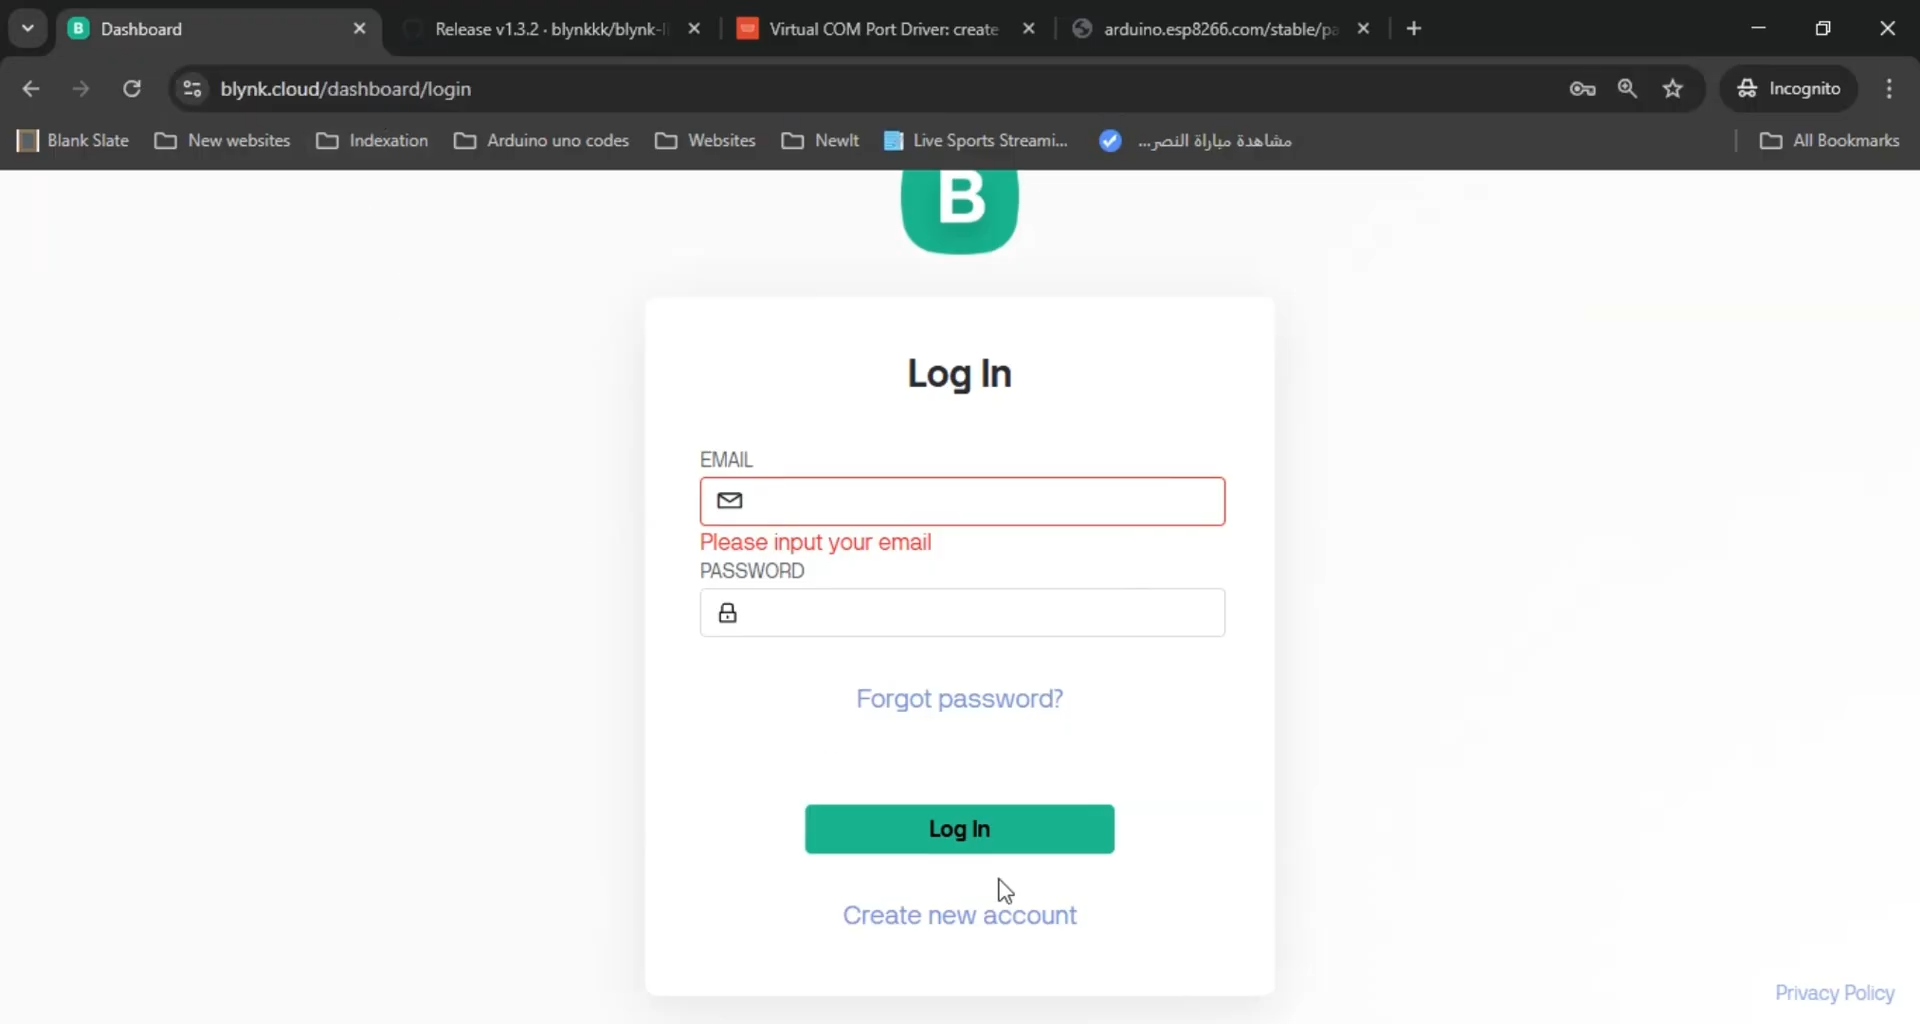
🔐 Unlock Step 4: Final Blynk Configuration!
You're almost there! Click the button below to subscribe to the @arduinounoprojex channel and instantly unlock **Step 4** (Copying the Auth Token, configuring the Blynk Dashboard, creating Datastreams) and the rest of the tutorial!
SUBSCRIBE & UNLOCK NOW
✅ CONTENT UNLOCKED! Full Configuration Steps Below:
Step 4: Copy and Paste the Blynk Authentication Token
- In Blynk, go to your newly created template.
- Copy the Authentication Token provided.
- Open your Arduino sketch and paste the token where required.
- Make sure to have the auth tocken below right:

- Edit Blynk dashboard:
- Add switch
- Configure switch parameters
- Create datastream
- Create datastream: Name: virtual_pin_d7, virtual pin: D7, datastream type: integer