
5 Simple Arduino Projects for Beginners

This guide combines five beginner-friendly Arduino projects. Each one includes a description, schematic, and code snippet to help you build and understand core electronics concepts.
1. LED Brightness Control with a Potentiometer
Use a potentiometer to adjust the brightness of an LED using PWM on an Arduino. This is a basic intro to analog input and output.

Code:
int led_pin = 6;
int pot_pin = A0;
int output;
int led_value;
void setup() {
  pinMode(led_pin, OUTPUT);
}
void loop() {
  output = analogRead(pot_pin);
  led_value = map(output, 0, 1023, 0, 255);
  analogWrite(led_pin, led_value);
  delay(1);
}
2. Motion Detection with a PIR Sensor
Use a motion sensor to detect movement and trigger an LED. Learn digital input handling and serial output.
Code:
int led = 13;
int sensor = 2;
int state = LOW;
int val = 0;
void setup() {
  pinMode(led, OUTPUT);
  pinMode(sensor, INPUT);
  Serial.begin(9600);
}
void loop() {
  val = digitalRead(sensor);
  if (val == HIGH) {
    digitalWrite(led, HIGH);
    delay(500);
    if (state == LOW) {
      Serial.println("Motion detected!");
      state = HIGH;
    }
  } else {
    digitalWrite(led, LOW);
    delay(500);
    if (state == HIGH) {
      Serial.println("Motion stopped!");
      state = LOW;
    }
  }
}
3. Arduino Voltmeter with LCD Display
Read and display voltage using an analog pin and a 1602 LCD with I2C.

Code:
#include <Wire.h>
#include <LiquidCrystal_I2C.h>
LiquidCrystal_I2C lcd(0x27,16,2);
int Vpin = A3;
float voltage;
float volts;
void setup() {
  Serial.begin(9600);
  lcd.init();
  lcd.backlight();
}
void loop() {
  voltage = analogRead(Vpin);
  volts = voltage / 1023 * 5.0;
  Serial.println(volts);
  lcd.print("Voltage = ");
  lcd.print(volts);
  delay(500);
  lcd.clear();
}
4. Ultrasonic Distance Sensor with LED Indicator
Measure distance with an ultrasonic sensor and light up an LED if an object is too close.

Code:
const int trigPin = 9;
const int echoPin = 10;
const int ledPin = 8;
const int movementThreshold = 50;
void setup() {
  pinMode(trigPin, OUTPUT);
  pinMode(echoPin, INPUT);
  pinMode(ledPin, OUTPUT);
  Serial.begin(9600);
  Serial.println("Starting distance sensor...");
}
void loop() {
  digitalWrite(trigPin, LOW);
  delayMicroseconds(2);
  digitalWrite(trigPin, HIGH);
  delayMicroseconds(10);
  digitalWrite(trigPin, LOW);
  long duration = pulseIn(echoPin, HIGH);
  int distance = duration * 0.034 / 2;
  Serial.print("Distance: ");
  Serial.print(distance);
  Serial.println(" cm");
  if (distance > 0 && distance <= movementThreshold) {
    Serial.println("Object detected. Turning LED on.");
    digitalWrite(ledPin, HIGH);
  } else {
    Serial.println("No object detected. Turning LED off.");
    digitalWrite(ledPin, LOW);
  }
  delay(200);
}
5. 7-Segment Display Counter with Button
Press a button to cycle through numbers 0–9 on a 7-segment display.

Code:
int segmentPins[] = {2, 3, 4, 5, 6, 7, 8};
int buttonPins = A0;
byte numbers[10] = {
  0x3F, 0x06, 0x5B, 0x4F, 0x66, 0x6D,
  0x7D, 0x07, 0x7F, 0x6F
};
int counter = 0;
void setup() {
  for (int i = 0; i < 7; i++) {
    pinMode(segmentPins[i], OUTPUT);
  }
  pinMode(buttonPins, INPUT);
}
void loop() {
  if(digitalRead(buttonPins) == HIGH){
    displayNumber(counter);
    counter = (counter + 1) % 10;
    delay(1000);
  }
}
void displayNumber(int num) {
  for (int i = 0; i < 7; i++) {
    digitalWrite(segmentPins[i], numbers[num] & (1 << i));
  }
}
Note: This article includes affiliate links to products compatible with Arduino and Raspberry Pi platforms.
EmbedLab Team
Embedded systems engineer and educator. Writes weekly tutorials at EmbedLab to help beginners ship real hardware.
Related projects

Top Arduino Beginner Projects (2025)
:root { --primary: #1a73e8; --accent: #ffb300; --bg: #f4f8fb; --white: #fff; --gray: #f9fafc; --text: #212121; --shadow: 0 4px 18px rgba(30,50,90,0.07); } body { font-family: 'Segoe UI', Arial, sans-s

3 Practical Arduino Projects: Displays, Frequency Measurement & Button Counter
3 Practical Arduino Projects: Displays, Frequency Measurement & Button Counter Whether you're a beginner eager to dive into the world of Arduino electronics or a seasoned hobbyist looking for creative
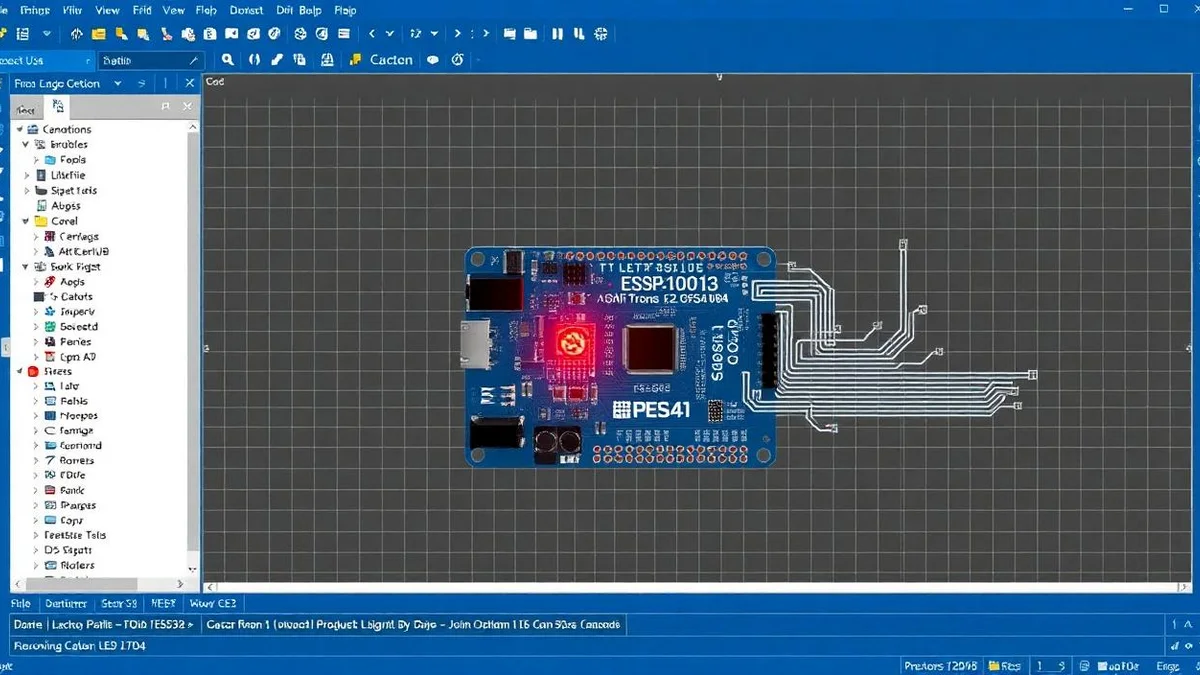
ESP32 LED Blink in Proteus 8 Simulation — Arduino IDE ESP32 WROOM DevKit Tutorial
Step-by-step ESP32 LED blink simulation in Proteus 8 using Arduino IDE ESP32, ESP32 WROOM-32 DevKit, the ESP32 pinout (GPIO2) and Wokwi/Proteus simulation — full Espressif ESP32 dev board code included.

ESP32 Proteus 8 Simulation — Free ESP32 Library, Arduino IDE & WROOM DevKit Guide
Add the ESP32 to Proteus 8 easily and for free: ESP32 library install, Arduino IDE ESP32 setup, ESP32 WROOM / ESP32 DevKit pinout, Wi-Fi & Bluetooth simulation and Wokwi alternatives for ESP32-S3, ESP32-C3 and ESP32-CAM.
Top 3 Free Online ESP32 Simulators 2025 — Wokwi, Proteus & Tinkercad for Arduino ESP32
Compare the best free online ESP32 simulators in 2025: Wokwi simulation, Proteus simulation and Tinkercad for Arduino ESP32, ESP32 WROOM, ESP32-S3, ESP32-C3 and ESP32 DevKit Wi-Fi and Bluetooth projects — no hardware needed.